Enrollment
This section explains how to enroll the GetApp Agent with the servers using local configuration files.
Before starting, make sure the GetApp Agent (and optionally the Agent UI) is installed as described in the Getting Started guide.
Prerequisites
To configure the agents, users must have permission to edit the .env files.
Administrative or sudo privileges may be required.
If you do not have the necessary permissions, contact your IT department for assistance.
For installation steps, see the Getting Started documentation.
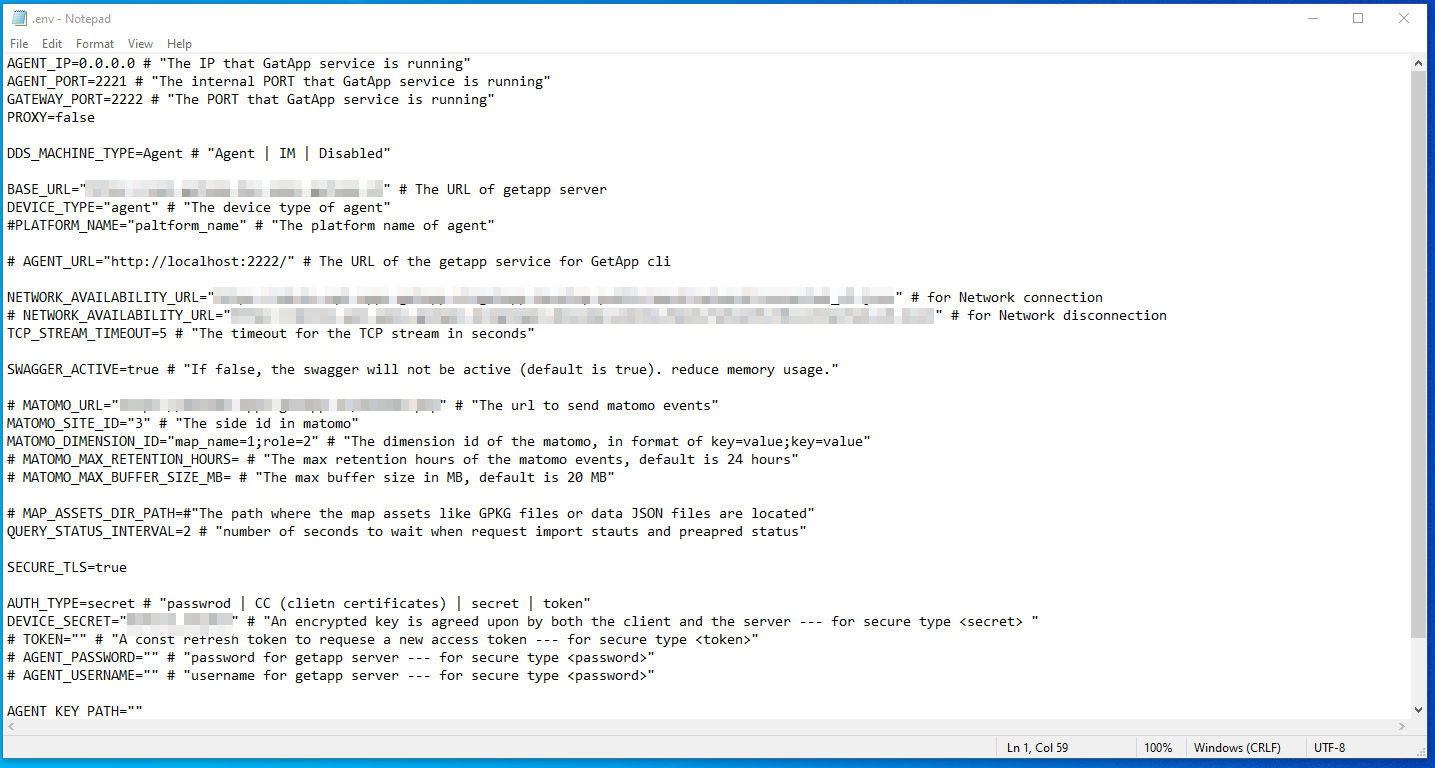
.env File Location
The GetApp Agent uses a configuration file named .env to store connection details, including the BASE_URL that points to the GetApp server.
This file is created during installation and must be updated so the agent can communicate with the correct environment.
The location of the .env file depends on your operating system:
Windows
The default location for the .env file is:
C:\Program Files\GetApp\bin\.env
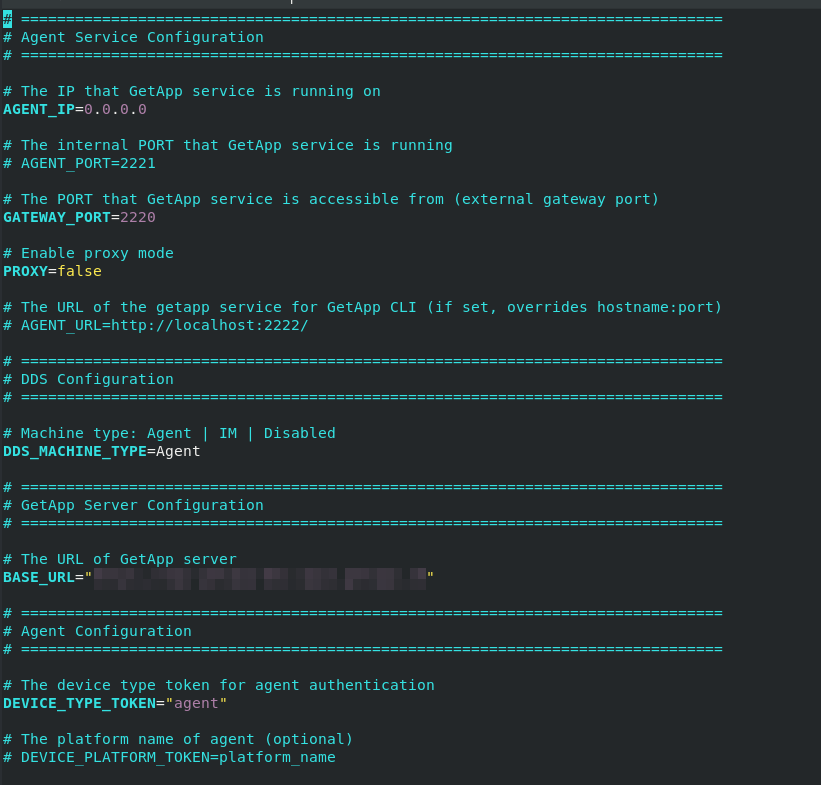
Red Hat–based Linux Distributions
The default location for the .env file is:
/etc/getapp/.env
Editing the .env File
As mentioned in the Prerequisites section, ensure you have the required permissions to edit the .env file.
Typically, only one variable needs to be updated: BASE_URL.
Set this to the correct GetApp server URL or IP address, for example:
BASE_URL=http://your-getapp-server.local
Windows Example
Linux Example
Post-Editing Steps
Once the .env file is updated and saved, restart the corresponding agent services to apply the changes.
Windows
- Open the search bar and type “Services”.
- In the list, locate GetAppAgentService.
- Right-click it and choose Restart.
Red Hat–based Linux Distributions
- Open a terminal.
- Run the following command:
sudo systemctl restart getapp.service
- Press Enter to confirm.
After Configuration
After restarting the service:
-
Open the Agent Dashboard in your browser, for example:
http://localhost:2230 -
Refresh the page.
-
Confirm that the updated configuration has taken effect.
Next Step
Proceed to the Dashboard page to get a better understanding.